There’s a kind of magic that happens when a fresh set of gel nails sets under the lamp.
Suddenly, everything feels polished – pun intended.
But here’s the secret that makes all the difference: the prep.
Prepping your nails properly isn’t just a box to check – it’s what determines whether your gel polish lasts two weeks or chips after two days.
This guide walks you through how to prep nails for gel polish like a pro.
Whether you’re a DIY gel enthusiast or just want to know what your nail tech should be doing, I’ll cover every detail so your next mani doesn’t disappoint.
Because when it comes to gel nails, the prep is never just “extra.”
It’s essential.
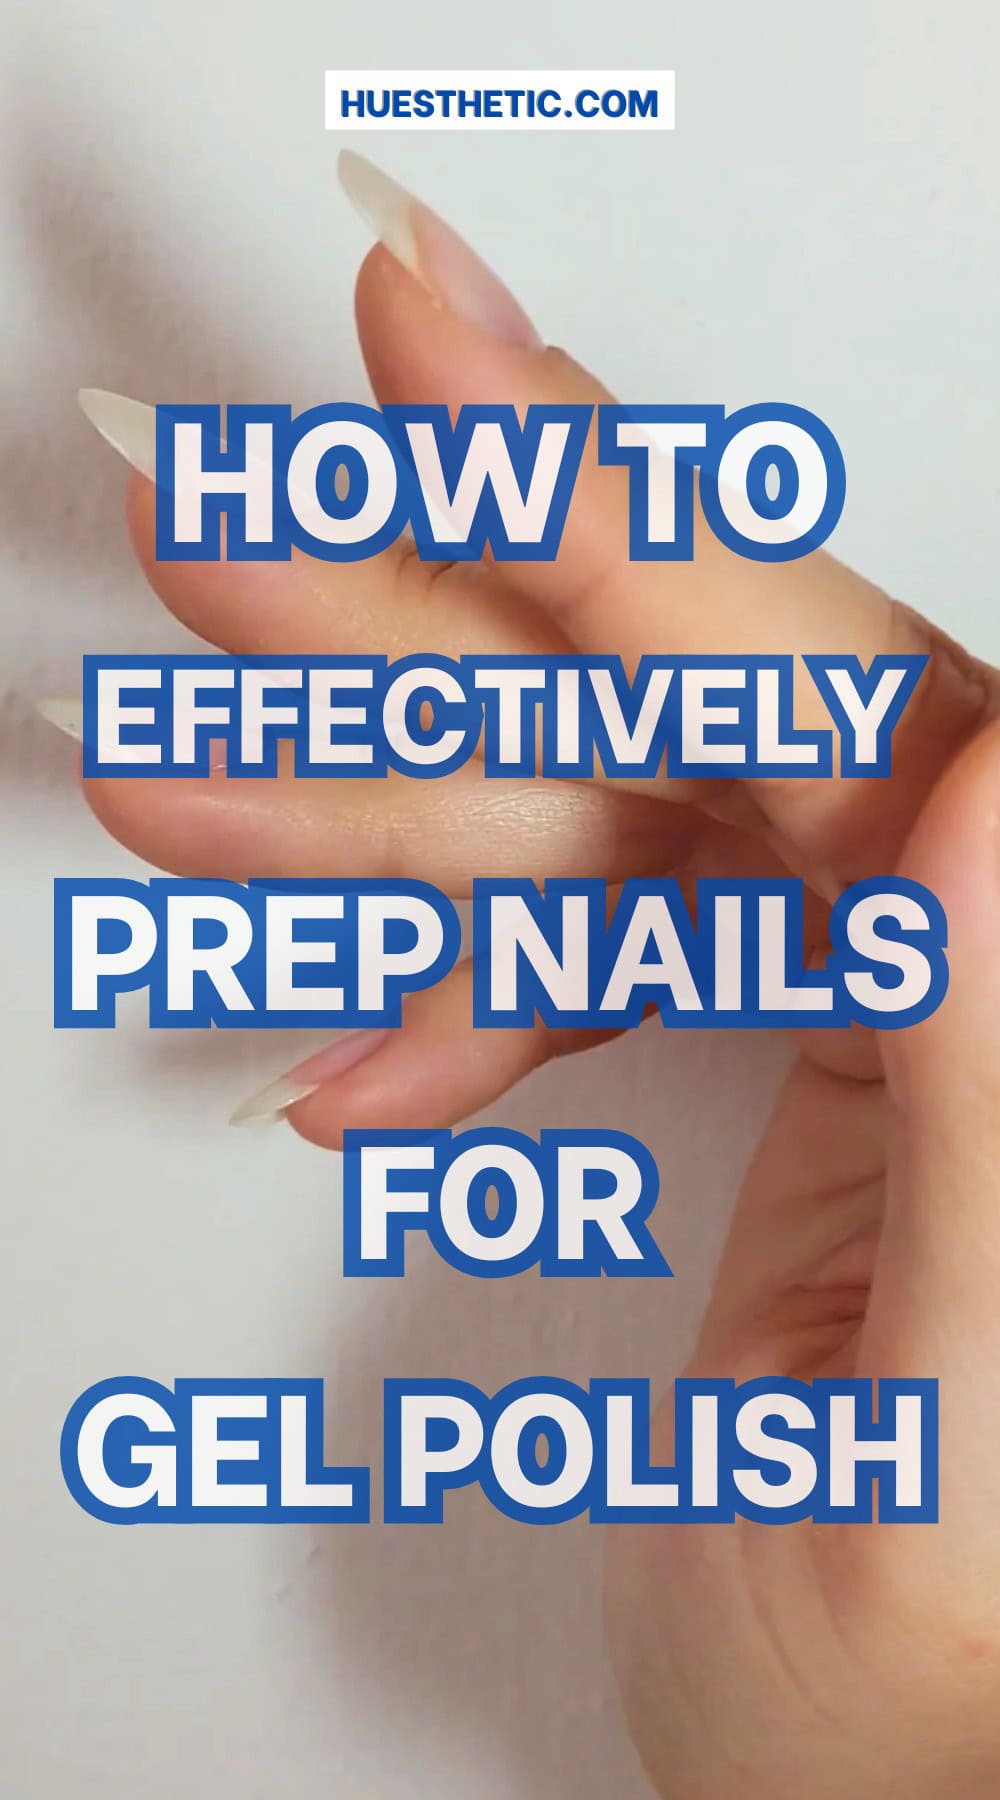
How to Prep Nails for Gel Polish the Right Way
Let’s talk about why prepping your nails isn’t just optional – it’s foundational.
Think of your nail plate as a canvas.
If it’s oily, bumpy, or flaky, no matter how expensive your gel polish is, it won’t hold.
Proper prep ensures better adhesion, reduces chipping, and helps avoid that dreaded lifting at the edges.
Whether you’re doing your own gel mani at home or training to be a nail tech, mastering the prep stage is what separates a flawless finish from a frustrating redo.
So, what does proper nail prep actually involve?
1. Remove Old Polish (Even the Clear Stuff)
It might sound obvious, but skipping this step is more common than you’d think.
Use an acetone-based polish remover and make sure every last bit of previous polish – yes, even the invisible base coat – is gone.
Pro tip: Avoid using peel-off polish removers or oily removers right before a gel manicure, as they leave behind a film that disrupts adhesion.

2. Wash Your Hands and Skip the Lotion
Gel polish doesn’t like oils or residue, so a quick wash with plain soap and warm water is a must.
Avoid using hand creams, oils, or cuticle softeners before your mani.
Even the tiniest trace of oil can lead to lifting.
3. Gently Push Back (Don’t Cut!) Your Cuticles
Cuticles are sneaky.
Even when they look tidy, a thin layer can cling to the nail plate and sabotage your gel’s staying power.
Use a gentle cuticle remover or simply soak your hands in warm water, then push the cuticles back with a metal or rubber pusher.
I always tell clients: don’t cut your cuticles unless you’re trained.
It creates microtears that are prone to infection and can lead to long-term damage.
4. Buff – But Don’t Shave Down
Here’s where things get technical.
You want to gently buff the surface of the nail to remove shine and smooth out ridges, but never use a coarse file or overdo it.
Over-buffing thins out the nail plate, making it weaker and more prone to breakage.
Use a 180- or 240-grit buffer for this step, and think of it as more of a “dusting” than a sanding.
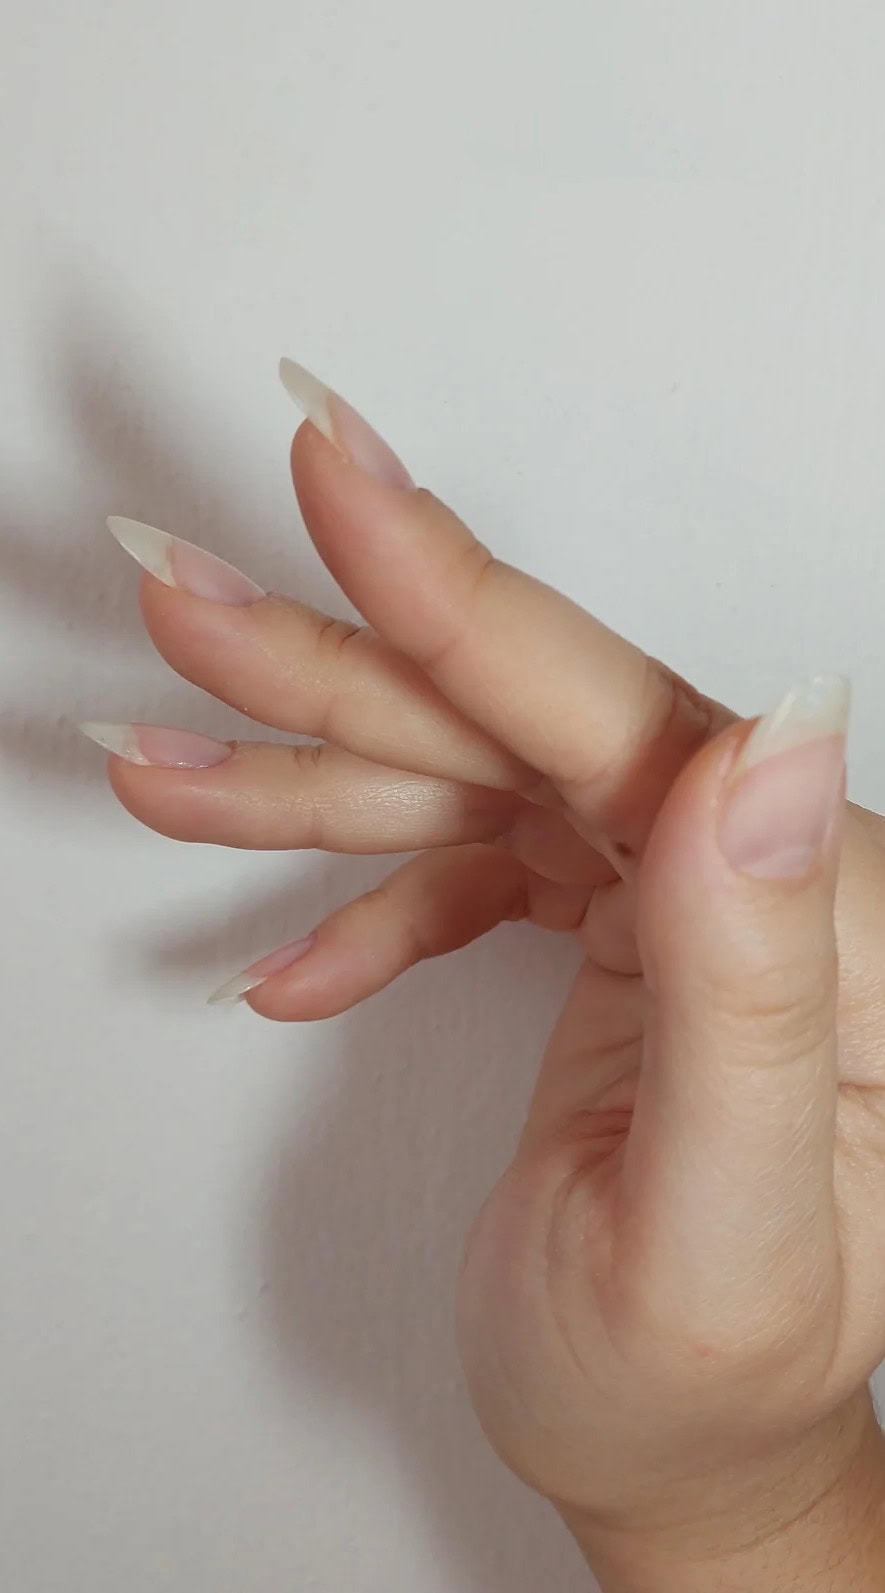
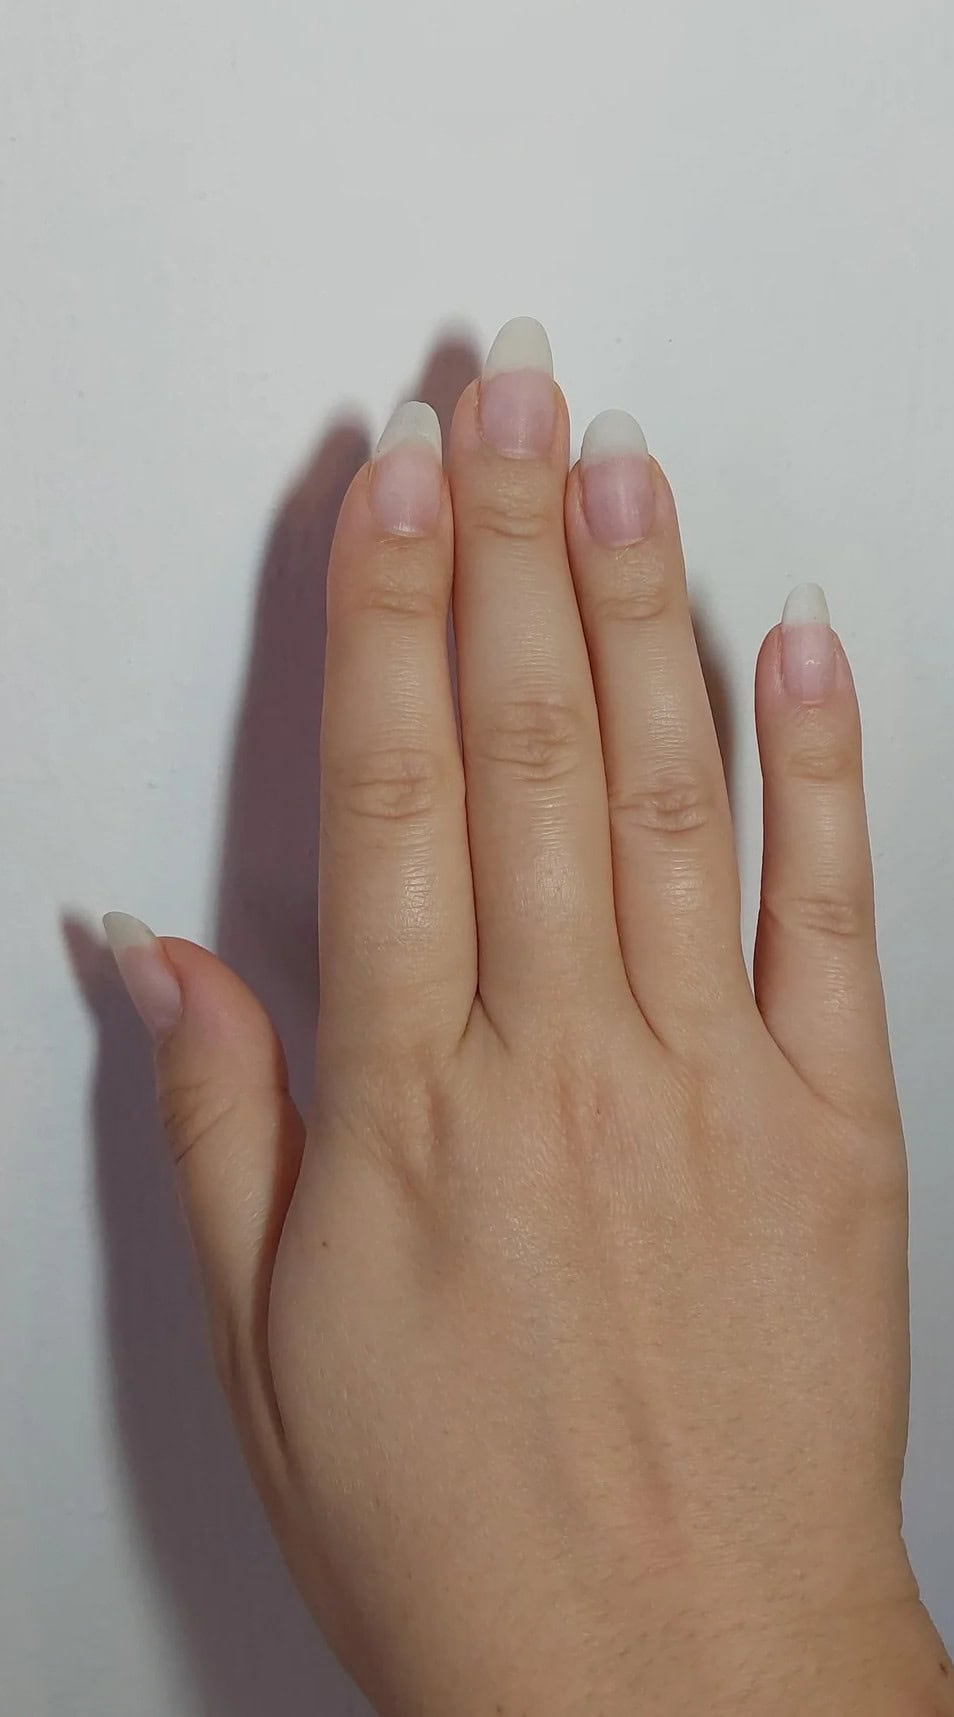
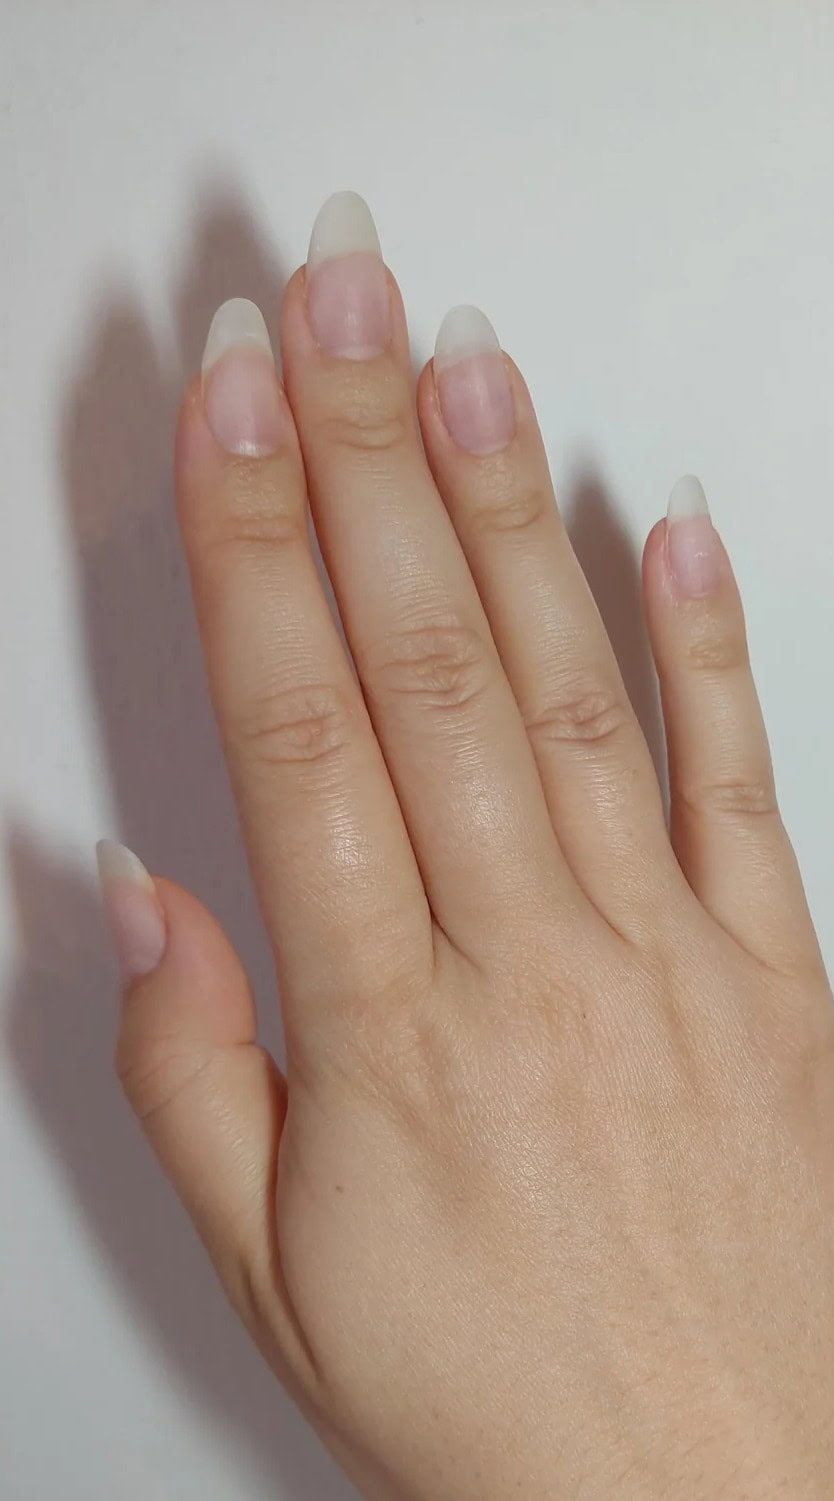
5. Shape and Shorten to Avoid Breakage
Trim your nails to your desired length and shape them using a fine-grit nail file.
Rounded or squoval shapes tend to hold up better under gel polish than sharp stilettos, especially if you’re not reinforcing with builder gel.
Be sure to seal the free edge by filing smoothly – this prevents cracking and minimizes snagging.
6. Cleanse the Nail Plate (Don’t Skip This)
After buffing and shaping, you need to cleanse the nail plate to remove all dust, oils, and debris.
This is where many DIYers make a mistake.
Use a lint-free wipe soaked in isopropyl alcohol (90% or higher) or a dedicated nail cleanser.
Do not use cotton balls – they leave behind fibers that can get trapped under the polish.
This step dehydrates the nail slightly, which helps the gel adhere better and stay longer.
7. Use a pH Bond or Dehydrator (Optional But Powerful)
If you have naturally oily nails or struggle with premature lifting, applying a pH bonder or dehydrator can make a massive difference.
These products temporarily remove moisture and balance the pH of the nail plate, creating a perfect surface for base coat adhesion.
They’re particularly helpful in warm climates or if your hands tend to sweat.
8. Apply Base Coat – But Sparingly
Once your nails are fully prepped, it’s time for the base coat.
But remember: less is more.
Applying too thick a layer will cause the gel to bubble, peel, or lift.
Use a light touch and cap the free edge for extra durability.
Cure under the correct UV/LED lamp for the full time recommended by the brand you’re using – cutting corners here can lead to under-cured gel, which causes long-term lifting and even potential nail damage.
Why Is My Gel Polish Peeling So Soon?
Nothing is more disappointing than spending time on a gel manicure, only for it to start peeling within a few days.
Usually, the culprit isn’t the polish – it’s the prep.
When gel polish peels, it’s often due to one or more of the following:
- Oils left on the nail plate from skipping the alcohol cleanse
- Buffing too lightly or not at all, which means the base coat can’t grip
- Cuticle overgrowth, even if invisible, acting like a barrier
- Skipping the free-edge cap, which lets water seep under the gel
A good prep process addresses every one of these factors.
And the truth is, your nails don’t need to be perfect – they just need to be clean, dry, and textured enough for the product to hold.
Other Common Mistakes That Cause Peeling:
- Using hand cream before a mani
Even hours before can leave behind oils that mess with adhesion. - Touching your nails after cleansing
The oils from your skin transfer right back onto the plate. Use tweezers if you’re applying nail art or gems. - Rushing between steps
Make sure each coat is fully cured and each layer is applied thinly.
Can I Prep My Nails for Gel Polish Without Buffing?
Technically, yes – but it depends on your nail type and the product you’re using.
Buffing creates a slightly rough surface that helps the base coat bond securely.
If you skip it, your gel manicure may look great at first but begin lifting within days.
That said, some brands of gel polish are formulated to work on a smooth nail plate, and some nail techs skip buffing on already-thin nails to avoid further damage.
Here’s how to skip buffing safely:
- Use a strong pH bonder or dehydrator
This mimics the texture buffing would provide, helping adhesion. - Choose a sticky base coat
These are designed to grip to the nail without mechanical etching. - Avoid thick layers of polish
Without buffing, thick coats are even more prone to peeling.
Buffing is still the gold standard for long wear, but if you have thin or damaged nails, skipping it might be the safer choice with the right prep strategy.
Other follow-up questions:
- Can I prep gel nails with just alcohol?
You can use alcohol to cleanse the nail plate, but it doesn’t replace buffing or cuticle care. - What’s the best file grit to prep nails for gel polish?
A 180- to 240-grit buffer is ideal – anything harsher may cause damage. - Can I skip the base coat if I’m in a rush?
Absolutely not. The base coat is essential for proper bonding and protecting the nail from staining.
There’s no shortcut to a gel manicure that actually lasts.
It always comes back to one thing: the prep.
Taking a few extra minutes to remove oils, push back cuticles, and lightly buff the nail plate can be the difference between a stunning set and a frustrating fail.
So the next time you sit down with your UV lamp and polish, remember – those few prep steps are your secret weapon to long-lasting, salon-worthy results.
And now that you know how to prepare your nails for gel polish, you’re ready to make every manicure count.