You followed every step of your manicure routine, only to spot pesky little bubbles ruining your polish.
Let’s look at what causes them – and how to keep your nails perfectly smooth every time.
They pop up like unwanted guests, messing with an otherwise flawless finish.
Whether you’re a DIY enthusiast with a rainbow of shades at home or a pro who’s heard this complaint one too many times from clients, bubbles in nail polish are one of those oddly persistent issues.
And trust me – it’s not just cheap polish.
Even salon-quality formulas can bubble under the right (or wrong) conditions.
In this post, I’ll walk you through what actually causes those pesky bumps, how to avoid them, and what to do when they appear anyway.
So if you’re tired of the texture nightmare and want your polish to look smooth and glossy every time, this guide is going to help you out.

Common Causes of Bubbles in Nail Polish
Let’s start with the real question everyone has: Why do these bubbles happen in the first place?
While it may look like a chemistry fail, it usually comes down to technique and environment.
Think of it like baking – you can have the best ingredients, but if you rush or misstep, the cake flops.
Here are the most common culprits I see in the salon (and on my own nails when I get lazy):
1. Shaking the Bottle Too Vigorously
It’s second nature for many people to shake the polish bottle before use.
But when you shake it like a cocktail shaker, you’re just trapping air inside.
That air translates to bubbles when the polish is applied.
Instead, roll the bottle gently between your palms for a few seconds to mix the formula evenly without creating foam.

2. Applying Thick Layers
It’s tempting to load up your brush so you get full opacity in one swipe, but thick coats don’t dry properly.
As the top layer starts to set, the bottom layer is still trying to dry and release solvents.
That trapped solvent creates air pockets – aka bubbles.
Two or three thin coats are better than one goopy mess.

3. Heat and Humidity
Nail polish is sensitive to its surroundings.
If you’re painting your nails in a steamy bathroom or sitting outside in the summer heat, the polish may dry too quickly on the surface.
Again, the solvents underneath get trapped, and you get bubbles.
Always paint in a cool, dry space with decent ventilation.
4. Old or Expired Nail Polish
Polish gets thick and gloopy as it ages.
That extra viscosity makes it harder to apply evenly, and the drying process becomes less predictable.
If your polish is over a year old and starting to separate or dry out, toss it or refresh it with a few drops of thinner.
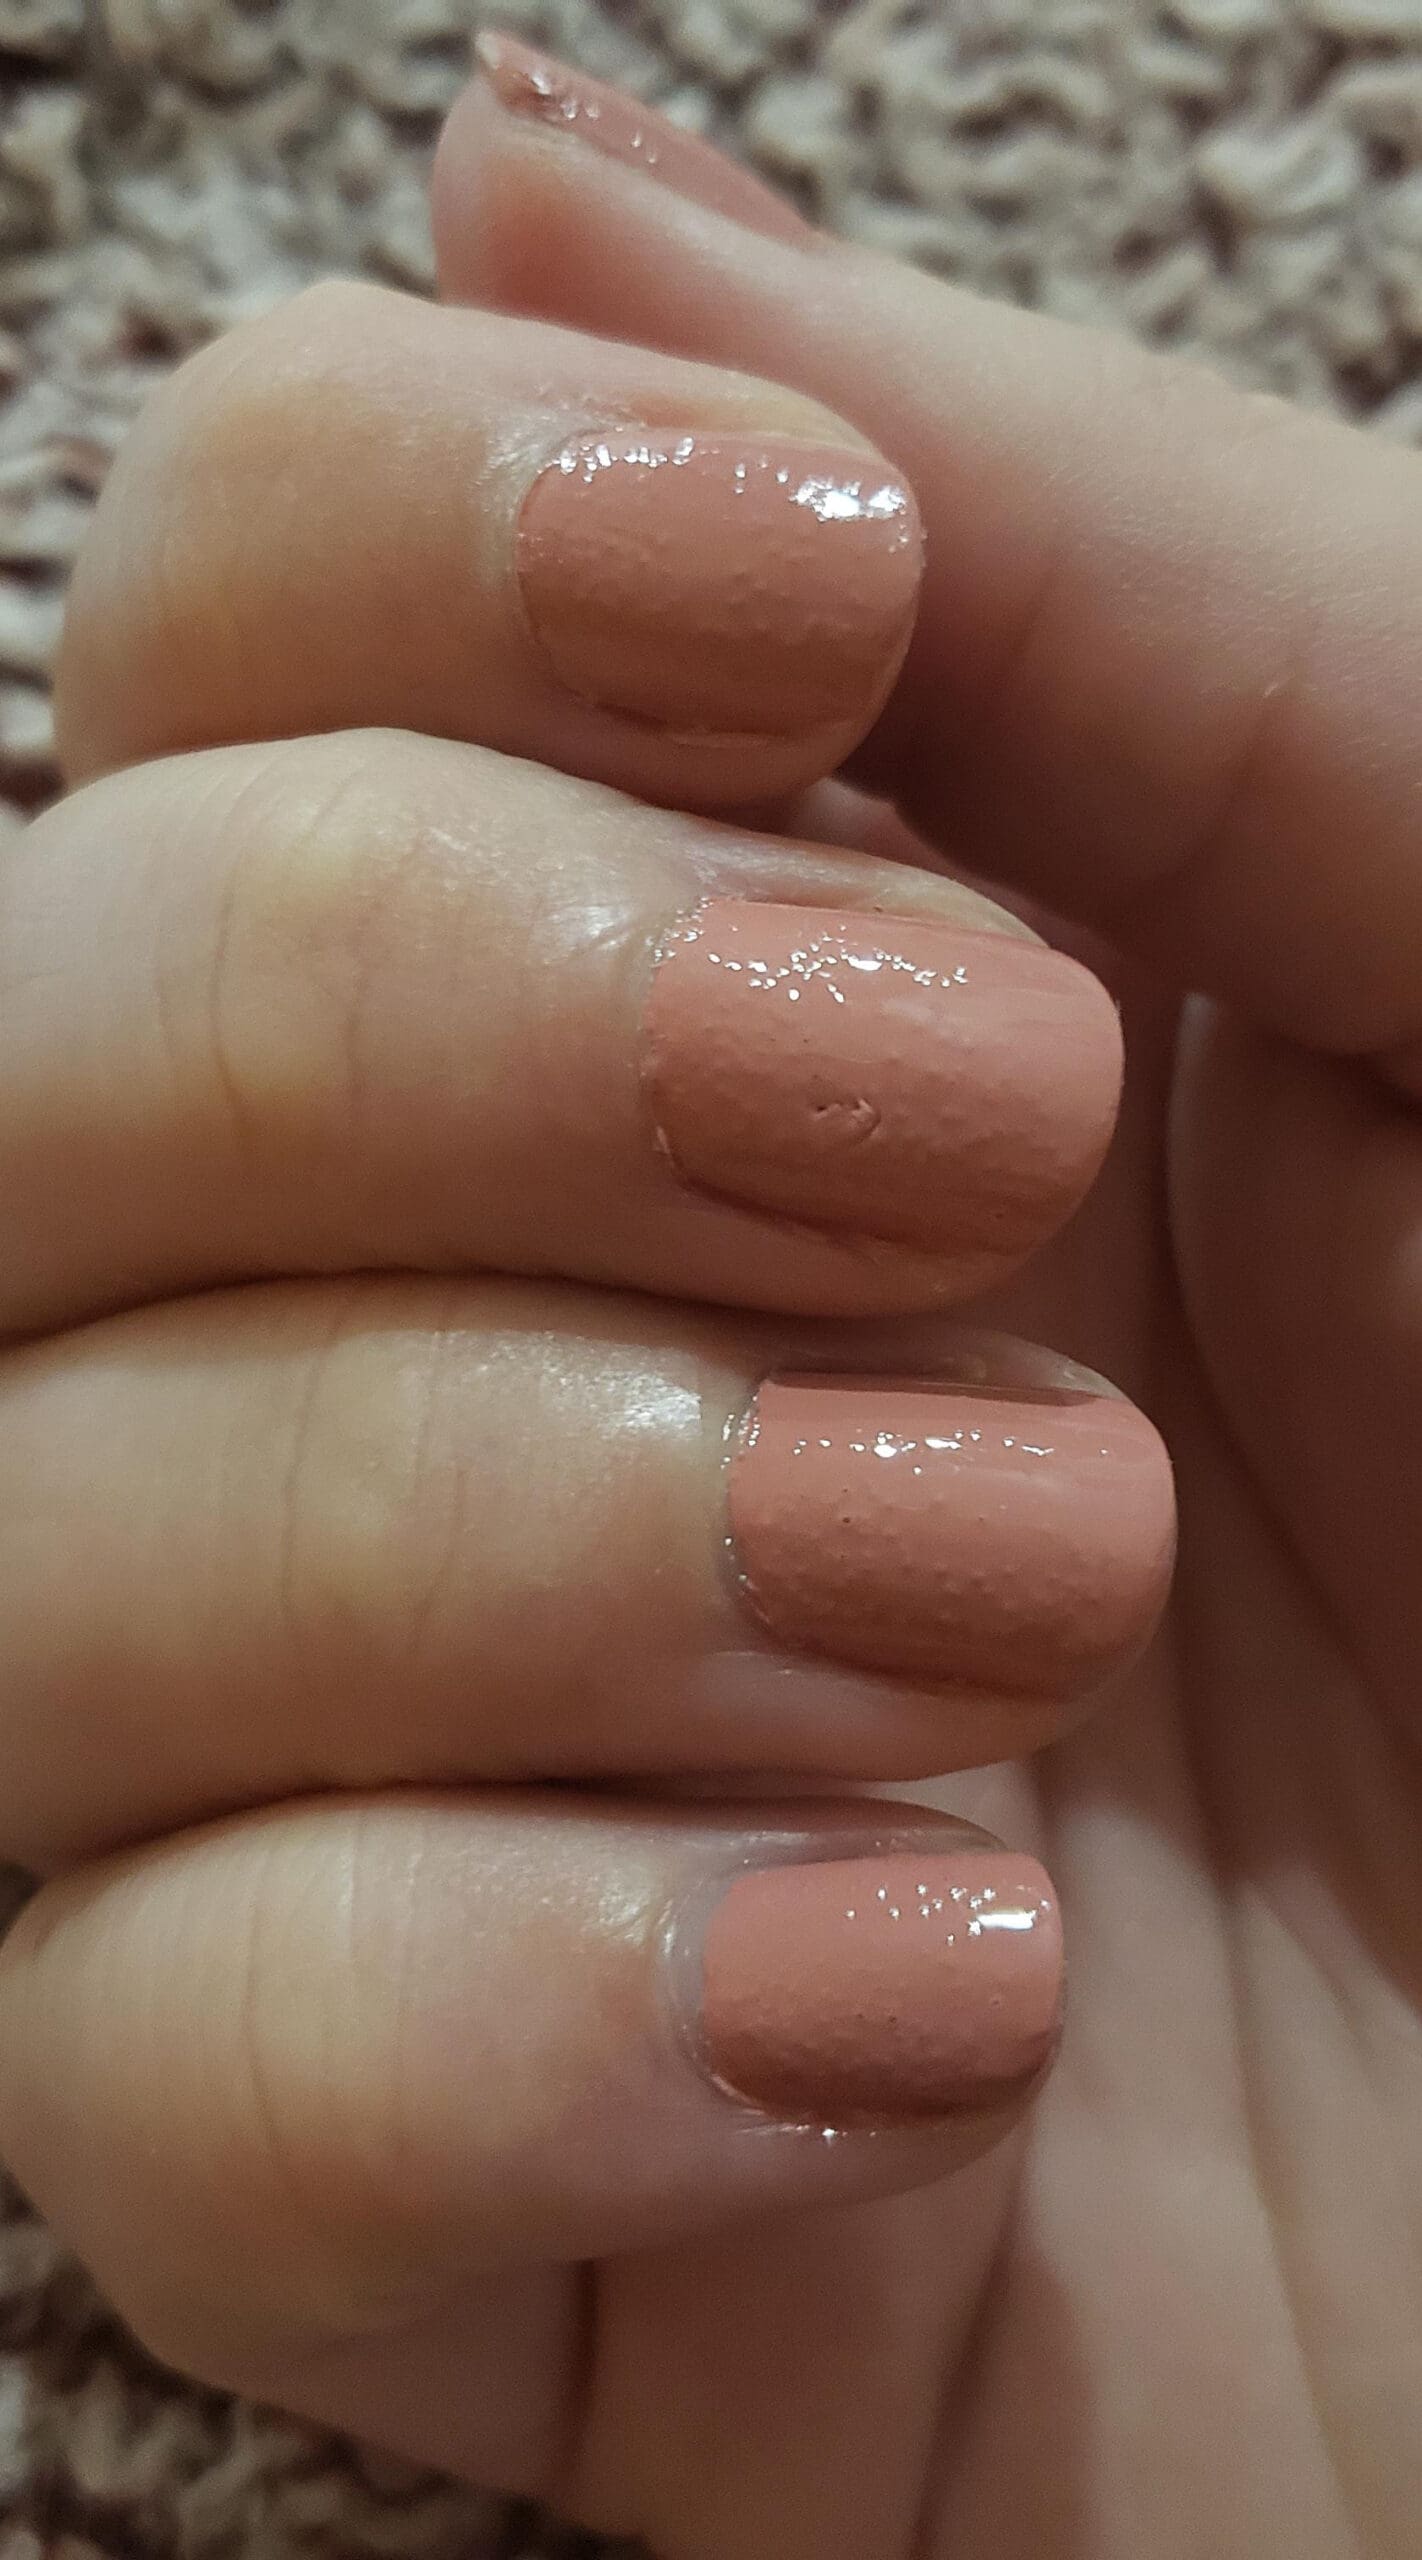
by reddit user drunkonwinecoolers
5. Using Oil or Lotion Before Painting
This one surprises people.
If you’ve just moisturized your hands or applied cuticle oil, there might be a slick barrier on your nails.
That layer can repel the polish just enough to create uneven texture or bubbles.
Always wash and dry your hands thoroughly before starting.

6. Dirty or Oily Nail Surface
Even natural oils from your fingertips can interfere with adhesion.
I recommend wiping each nail with alcohol or acetone before applying a base coat.
It makes a huge difference in both bubble prevention and polish longevity.
7. Poor Quality Top Coats or Mixing Brands
Sometimes it’s not the polish – it’s the top coat or how products interact.
Not all formulas play nicely together.
If you notice bubbling after adding a top coat, try switching to a version that’s compatible with your nail polish brand.
8. Rushing the Drying Process
Quick-dry sprays or fans can cause rapid surface drying while the base is still wet.
The trapped solvents below expand and try to escape through the dry film, creating – you guessed it – bubbles.
Let your nails air-dry naturally for at least a few minutes between layers.
How to Prevent Nail Polish from Bubbling
Now that we’ve covered the causes, let’s talk prevention – because yes, you can avoid bubbles entirely with just a few tweaks to your nail routine.
If you’re still curious about what triggers nail polish bubbling in the first place, check out this guide on why nail polish bubbles for a deeper breakdown of the root causes.
Use Thin, Even Coats
Thin coats are your best friend.
Apply one coat at a time, let it dry for a full two minutes, and only then go in with another layer.
If you’re in a rush, consider using a quick-dry base coat instead of slathering on extra polish.
Roll, Don’t Shake
Gently roll the bottle between your hands.
If the polish is separated or looks thick, try a nail polish thinner – not acetone, which breaks down the formula.
Prep Your Nails Like a Pro
Use nail polish remover or isopropyl alcohol on a cotton pad to swipe over each nail before starting.
This removes natural oils, lint, or moisture that might interfere.
Avoid Hot or Humid Spaces
Do your nails in a controlled environment.
If that means turning on a fan or air conditioning, do it.
Even professional nail salons are meticulous about climate when applying polish.
Let Each Layer Dry Fully
Even if it looks dry to the touch, the polish underneath is still curing.
Rushing this process is where most bubbling issues start.
Give it time.
Use High-Quality Products
Cheaper polish isn’t always the problem, but quality control and consistency vary widely across brands.
If bubbling happens often with a specific polish, switch it out and see if the issue goes away.
How to Fix Nail Polish Bubbles After They Appear
So let’s say it’s too late – you’ve got the bubbles.
Don’t worry, I’ve been there.
Here’s what to do:
Lightly Buff the Surface
Once the polish is fully dry, use a very fine nail buffer or file to gently smooth the surface.
Don’t press hard.
You’re just removing the top layer of texture.
Apply a Smoothing Top Coat
After buffing, a thick top coat designed to level out ridges can help hide the blemishes.
It won’t be glass-smooth, but it’ll look a lot better.
Start Over If It’s Bad
Sometimes, it’s just not salvageable.
If there are bubbles all over the nail, remove it and redo the manicure with thinner layers and better prep.
Switch Products If Needed
Track which polishes cause the most problems.
Some just don’t cooperate no matter how careful you are.
Can Bubble-Free Nail Polish Actually Exist?
If you’ve ever wished there was a bubble-proof polish formula out there, you’re not alone.
The truth is, no polish is guaranteed bubble-free, but some are formulated to reduce the chances drastically.
Brands like Zoya, OPI Infinite Shine, and Deborah Lippmann tend to have smoother application and better self-leveling formulas.
Look for polishes labeled self-leveling or professional finish – they’re designed to dry more evenly and reduce textural issues.
And while gel polish tends to bubble less often (thanks to its curing process under UV light), it’s not immune.
Improper curing or thick application can still create texture issues, especially if you layer too fast.
If bubbles keep happening no matter what you try, it may be time to look into nail polish alternatives – gel, dip, or even press-ons.
Each has its own pros and cons, but for some people, the switch solves the problem completely.
Additional questions related to bubble-free polish:
- Are water-based nail polishes less prone to bubbling?
Not necessarily. While water-based formulas are gentler and dry quickly, they still require proper technique. They can bubble if applied too thickly or in a humid environment. - Does a matte top coat hide bubbles better?
Sometimes, yes. Matte finishes can blur imperfections more than glossy ones, but they won’t make the texture disappear entirely.
Should I Throw Away Nail Polish That Bubbles a Lot?
You might be wondering whether a bubble-prone bottle of polish is just a dud.
And honestly, sometimes it is.
If a polish continues to cause problems despite careful application and ideal conditions, it may be expired or just poorly formulated.
Nail polish doesn’t last forever.
Exposure to air, heat, or sunlight over time can change the chemical makeup of the formula.
Here’s how to tell if a polish has gone bad:
- It separates quickly after shaking or rolling
- It’s unusually thick or stringy
- It smells more pungent than usual
- It won’t apply smoothly even with thin coats
If one or more of these apply, it’s safer to toss the bottle.
That said, don’t give up on a favorite polish too quickly – try adding a few drops of nail polish thinner first (not remover).
It can revive consistency and reduce bubbling.
Additional follow-up questions:
- Can nail polish thinner fix bubbling issues?
It won’t fix bubbles already in place, but it can prevent future bubbling by restoring the polish to a smoother texture. - Should I refrigerate my nail polish to prevent bubbles?
No – cold temperatures can actually make polish too thick. Store your polish in a cool, dry place away from direct sunlight instead. - Can base coats help stop bubbling?
Yes! A good base coat preps the nail and provides a smoother surface for polish to adhere to. This can help reduce textural imperfections and air entrapment.
With a bit of prep and the right techniques, you can get that bubble-free, salon-smooth finish – even at home.
And once you’ve had a perfect set of glossy nails without a single bump in sight, you’ll never want to go back to trial-and-error painting.
Knowing what causes bubbles in nail polish can save you time, polish, and a whole lot of frustration.